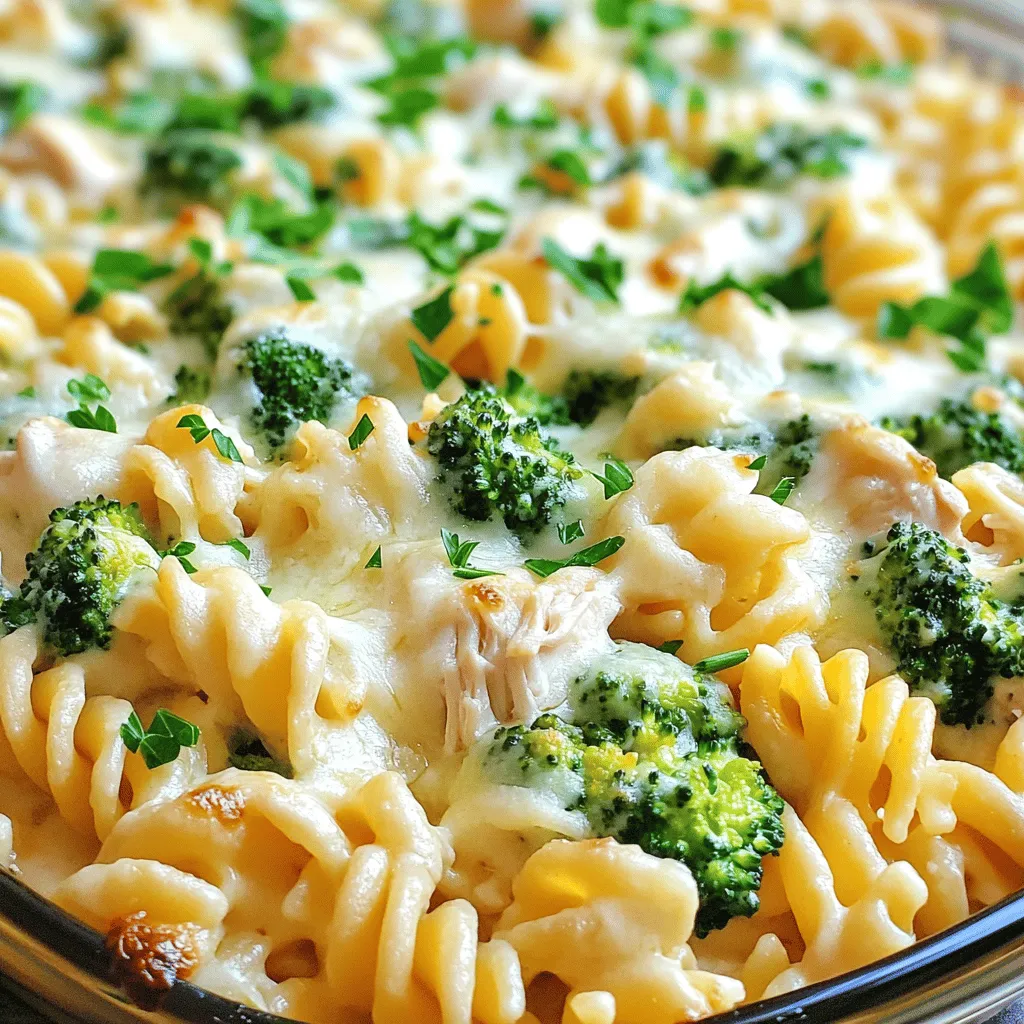
Easy Chicken Alfredo Bake Simple and Flavorful Dish
If you’re craving a warm, creamy dish that’s super easy to make, look no further! My Easy Chicken Alfredo Bake
If you’re craving a warm, creamy dish that’s super easy to make, look no further! My Easy Chicken Alfredo Bake
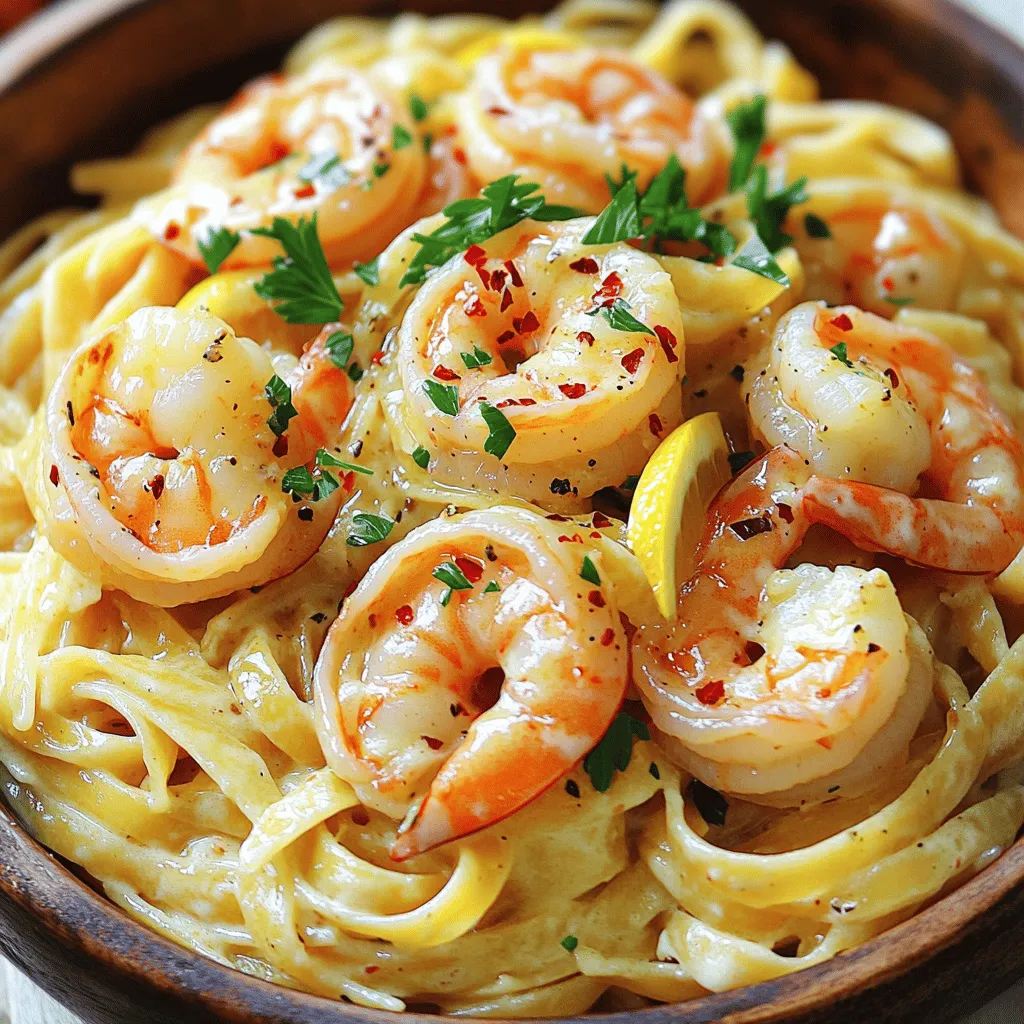
Craving a meal that’s quick, tasty, and satisfying? Garlic Butter Shrimp Pasta is the answer! This dish brings the rich
![To make these tasty no bake chocolate oat bars, gather the following ingredients: - 2 cups rolled oats - 1 cup almond butter (or any nut butter of your choice) - 1/2 cup honey or maple syrup - 1/2 cup unsweetened cocoa powder - 1/2 cup chocolate chips (dark or semi-sweet) - 1/4 teaspoon sea salt - 1 teaspoon vanilla extract - Optional: 1/4 cup chopped nuts or seeds (like walnuts or chia seeds) for added crunch These ingredients come together to create a delicious and filling snack. You can easily swap ingredients to fit your taste. Here are some ideas: - Nut Butters: Use peanut butter, cashew butter, or sunflower seed butter if you prefer. - Sweeteners: Swap honey for agave nectar or brown rice syrup for a different flavor. - Cocoa Powder: If you want a lighter taste, replace cocoa powder with carob powder. - Chocolate Chips: Use white chocolate chips or omit them for a less sweet bar. Feel free to mix and match based on what you have at home! This recipe can fit many diets: - Vegan: Choose maple syrup and a vegan nut butter to keep it plant-based. - Gluten-Free: Ensure the oats are labeled gluten-free to avoid cross-contamination. - Nut-Free: Use sunflower seed butter instead of nut butter for a nut-free option. These bars can work for many dietary needs, making them a great choice for gatherings! 1. Start by mixing the rolled oats, cocoa powder, and sea salt in a large bowl. Make sure to combine them well. 2. Next, grab a separate microwave-safe bowl. Add your almond butter and honey (or maple syrup) to this bowl. Heat it in the microwave for about 20 to 30 seconds. This step makes it easier to mix. 3. Stir the heated nut butter mix until it becomes smooth. Then, pour it into the bowl with oats. Add the vanilla extract and mix everything until it is well combined. 4. If you want, gently fold in chocolate chips and any nuts or seeds you like. This adds a nice crunch to your bars. 5. Line an 8x8-inch baking dish with parchment paper. Make sure some paper hangs over the sides. This helps you lift the bars out later. 6. Now, transfer the mixture to the baking dish. Spread it evenly and press it down firmly with your hands or a spatula. This helps the bars hold together. 7. Place the dish in the refrigerator for at least 2 hours. This cooling time helps the bars set properly. 8. Once the bars are firm, lift them out using the parchment paper. Cut them into squares or bars. - Always use rolled oats for the best texture. Quick oats can make the bars too mushy. - If you find the mixture too dry, add a little more almond butter or honey. It should stick together easily. - Mixing the heated nut butter and sweetener well is key. This step ensures even sweetness throughout. - Fold in chocolate chips last. This keeps them intact and prevents them from melting too much. - Make sure to press the mixture down firmly in the baking dish. This helps the bars stay compact. - Cover the dish with plastic wrap or a lid while it chills. This keeps the bars from drying out. - Check the bars after 2 hours. They should feel firm but not rock hard. You can let them sit longer if needed. - If your bars don’t set well, they might need more time in the fridge. Just be patient! For the complete recipe, check out the [Full Recipe]. To get the best texture and flavor in your bars, use fresh ingredients. Old oats or nut butter can change the taste. Mix the dry ingredients well before adding the wet ones. This helps them combine smoothly. When you press the mixture into the pan, make sure it is compact. This keeps the bars from crumbling later. One common mistake is not measuring ingredients correctly. Use a scale or measuring cups for accuracy. Also, don’t skip the refrigeration step. Bars need time to set, so resist the urge to cut them too soon. Be careful when heating the nut butter and honey. Overheating can change the flavor, so stick to 20-30 seconds in the microwave. These bars are tasty on their own, but you can add fun touches. Try serving them with a scoop of yogurt or a drizzle of honey. Pair them with a glass of almond milk or a cup of coffee. For a lively snack, add fresh fruit like bananas or berries on the side. You can find the Full Recipe in the article to explore more ideas. {{image_2}} You can easily change the taste of your no bake chocolate oat bars. Adding dried fruits like raisins, cranberries, or apricots brings a sweet and chewy texture. You can also mix in nuts or seeds for crunch. Think walnuts, almonds, or even sunflower seeds. Just stir in about 1/4 cup of your choice when mixing the ingredients. This step not only adds flavor but also boosts nutrition. If you want a healthier twist, swap out some ingredients. Use almond butter or peanut butter to keep it rich without adding too much sugar. Instead of honey, try mashed bananas or unsweetened applesauce. These changes lower calories and add natural sweetness. You can also use 1/4 cup of unsweetened cocoa powder for a richer chocolate flavor without added sugar. You don’t have to stick to squares with these bars. Use a cookie scoop to make small bites. Just drop spoonfuls onto parchment paper and chill. This makes a fun snack for kids and adults alike. You can also use muffin tins to create mini bars. Just press the mixture into each cup, then chill. Whether you choose squares or bites, they will still taste great! For the full recipe, check out the details above. To keep your No Bake Chocolate Oat Bars fresh, store them in an airtight container. This helps keep moisture out and prevents the bars from getting hard. You can place parchment paper between layers to avoid sticking. This small step makes a big difference! When stored correctly, these bars last up to a week in the fridge. For the best taste, enjoy them within the first few days. If you notice any off smell or change in texture, it's best to toss them out. Keeping them cool helps maintain their flavor and texture. You can freeze these bars for longer storage. Wrap each bar tightly in plastic wrap and place them in a freezer bag. This way, you can enjoy a delicious treat anytime. They can stay good in the freezer for about three months. When you're ready to eat, let them thaw in the fridge overnight. No bake chocolate oat bars last about one week. Store them in an airtight container in the fridge. This keeps them fresh and tasty. If you want them to last longer, you can freeze them. They can stay good in the freezer for up to three months. Just cut them into bars before freezing. Use parchment paper to separate layers. This way, you can grab one or two easily later. Yes, you can use other sweeteners. Agave syrup or brown rice syrup works well too. If you prefer granulated sugar, you can use that too. Just mix it with the nut butter and a splash of water to help dissolve it. Remember, different sweeteners can change the taste. Try different ones to find what you like best. No bake chocolate oat bars can be healthy! They are full of oats and nut butter. Oats provide fiber and energy. Nut butter adds protein and healthy fats. However, watch the sweetener amount. Too much can make them less healthy. You can also add seeds or dried fruit for more nutrients. This recipe lets you control what goes in. This way, you can enjoy a treat that also feels good for you. For the complete recipe, check the [Full Recipe]. In this post, we covered how to make delicious no-bake chocolate oat bars. I shared ingredients, cooking steps, and handy tips to get great results. You learned about substituting ingredients and special diet options like vegan and gluten-free. Finally, we explored variations and storage methods to keep your bars fresh. These bars are fun to make and easy to tweak. Enjoy them anytime you need a tasty treat!](https://foodishtalk.com/wp-content/uploads/2025/06/8c41b031-3677-43d2-bcbe-67853270f13b.webp)
Looking for a delicious treat that requires no baking? You’re in the right place! These No Bake Chocolate Oat Bars
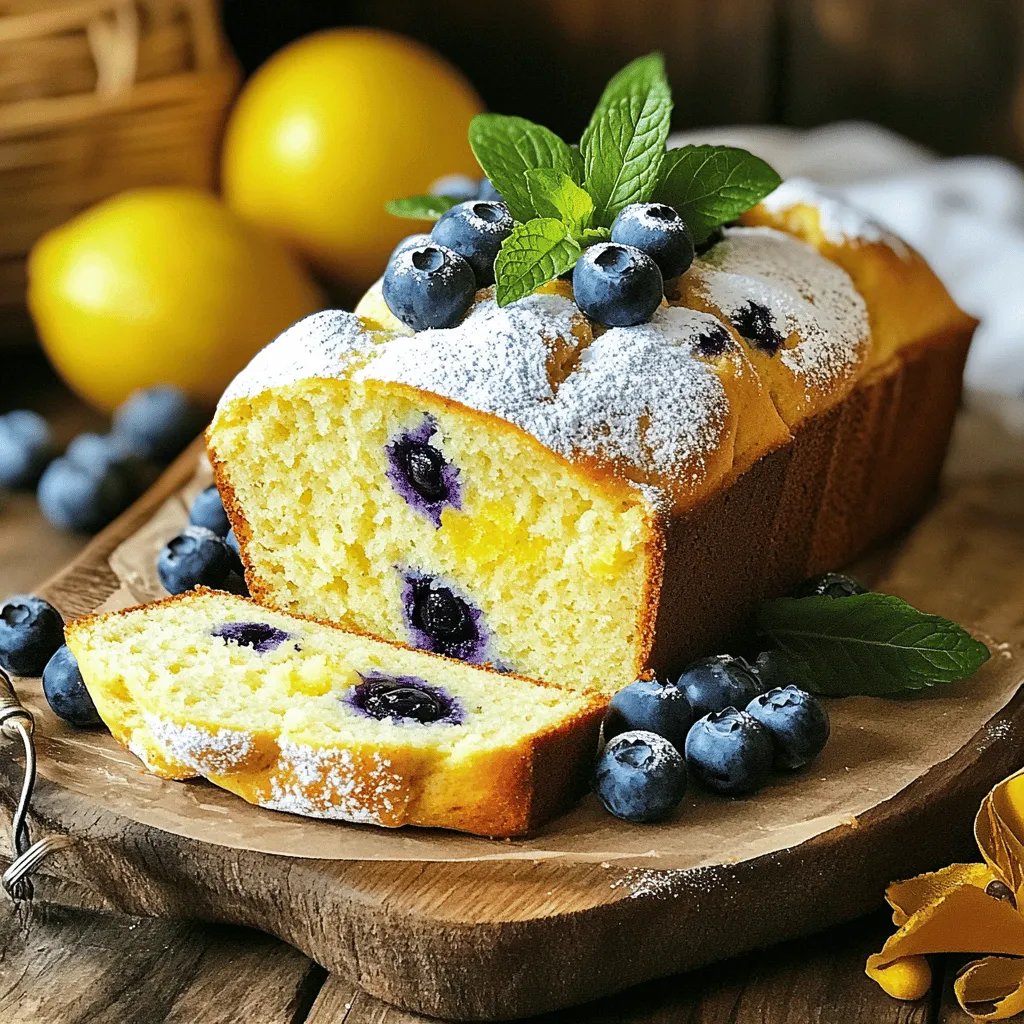
Are you ready to bake the most delicious Lemon Blueberry Bread? This recipe is not only simple, but it also
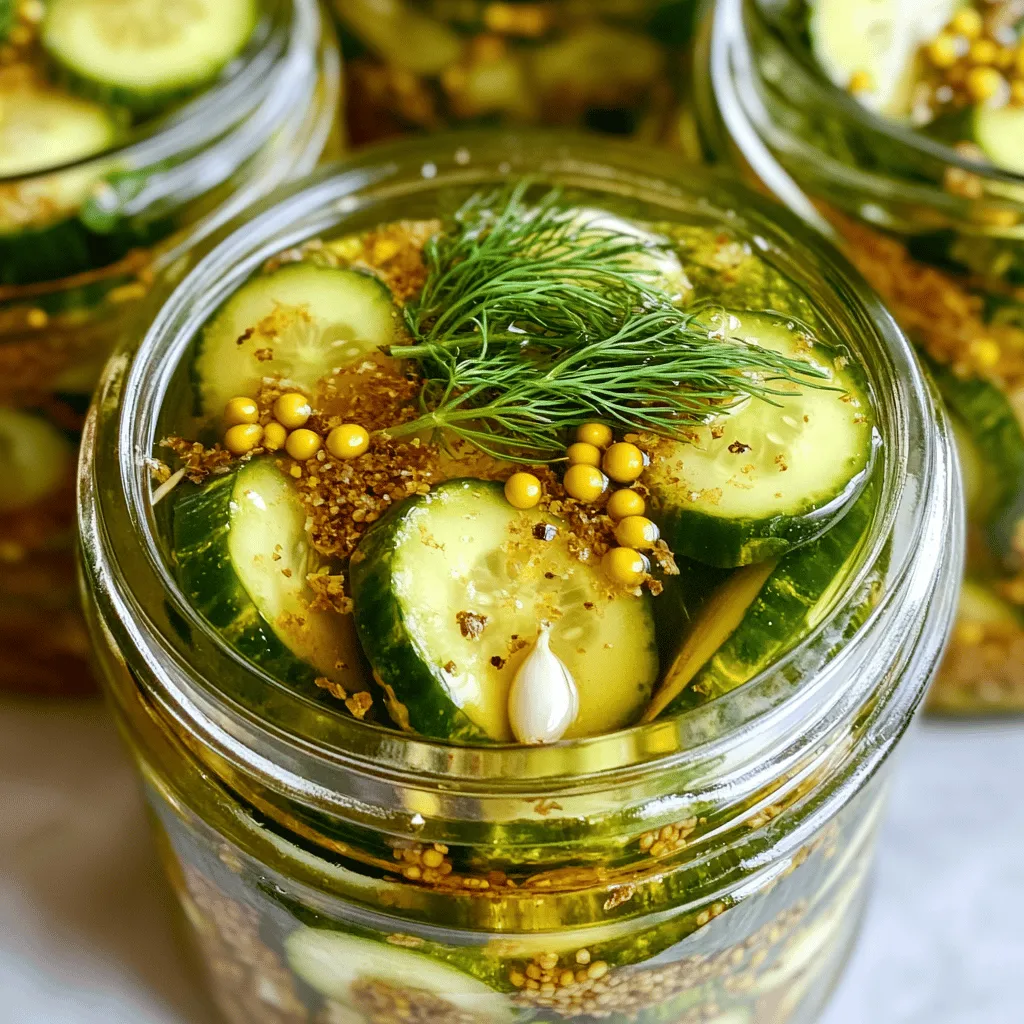
Craving crunchy, zesty pickles straight from your garden? You’re in the right place! I’m excited to share my simple recipe
![For this peach cobbler, use ripe peaches. Look for fruit that is soft but not mushy. Five peaches work well for this recipe. Peel and slice them for the best flavor. Fresh peaches give a sweet and juicy taste that canned ones can't match. When you smell their sweet aroma, you know they are ready to use. You will need 1 cup of granulated sugar, split into two parts. This sweetener balances the tartness of the peaches. One tablespoon of lemon juice adds a nice zing. Cinnamon gives warmth and pairs well with peaches. One teaspoon of cinnamon is just right. Lastly, use one tablespoon of cornstarch to thicken the peach juices as they cook. This will help create a nice filling. For the batter, you need simple baking items. Gather 1 cup of all-purpose flour, one tablespoon of baking powder, and 1/2 teaspoon of salt. These ingredients help your cobbler rise and give it a nice texture. You will also need 1 cup of milk and 1/4 cup of unsalted butter, melted, to create a rich batter. One teaspoon of vanilla extract adds a lovely depth of flavor. These baking essentials form the base of a great cobbler. For the full recipe, check out Peach Paradise Cobbler. Start with fresh, ripe peaches. Peel and slice them into thin pieces. This makes it easy to mix. In a bowl, combine the peach slices with 1/2 cup of sugar, lemon juice, cinnamon, and cornstarch. Toss it well, so each peach gets coated. Let this sit for about 15 minutes. This step helps the peaches release their juices. The sweet mix will soak in the flavors. Next, grab another bowl. In it, whisk together the all-purpose flour, the other 1/2 cup of sugar, baking powder, and salt. This mix gives your cobbler a nice rise. Then, pour in the milk, melted butter, and vanilla extract. Stir until the batter is smooth. It should look creamy and thick. Now, preheat your oven to 350°F (175°C). Grease a 9x13 inch baking dish. Pour the batter into the dish and spread it evenly across the bottom. Carefully spoon the marinated peach mixture over the batter. Do not mix them; the batter will rise around the peaches. Bake for 45-50 minutes. Look for a golden brown top. A toothpick should come out clean when you check the batter. Once done, let it cool for about 15 minutes before serving. For the best taste, serve warm with a scoop of vanilla ice cream on top. This is the Full Recipe you will love! When picking peaches, look for ripe, juicy ones. They should smell sweet and feel slightly soft. I love using freestone peaches because the pit comes out easily. If you can, buy local peaches in season. They taste better and have more flavor. To get a great texture, preheat your oven well. Use a light-colored pan for even baking. Mix the batter just until combined to keep it fluffy. After pouring the batter, gently spoon the peach mix on top. Do not stir it in. The batter will rise and create a perfect crust while baking. Serve your peach cobbler warm for the best taste. A scoop of vanilla ice cream on top makes it special. You can also add fresh mint for a nice touch. If you want, drizzle some honey or caramel sauce over it. For more fun, try serving it with whipped cream. Enjoy your peach paradise! For the full recipe, check out Peach Paradise Cobbler. {{image_2}} You can make a gluten-free peach cobbler easily. Just swap regular flour for gluten-free flour. This change keeps the taste and texture. You can use blends from the store or make your own. Check the labels to ensure they fit your needs. Follow the same steps in the [Full Recipe]. You won’t miss the gluten! A crumble topping adds a new twist. Mix oats, butter, and brown sugar to make it. This topping gives a nice crunch. You can add nuts for extra flavor. Just sprinkle the crumble on top before baking. It adds a lovely texture to the soft peaches. Combine it with the peach filling from the [Full Recipe] for the best results. Get creative with flavors! You can mix in other fruits like blueberries or raspberries. Spices can also change the taste. Try adding nutmeg or ginger for a spicy kick. A splash of bourbon or almond extract gives a grown-up twist. These infusions can make your peach cobbler stand out. Experiment with flavors to find your favorite combination! After you enjoy your peach cobbler, store the leftovers. Let it cool to room temperature first. Then, cover the dish with plastic wrap or aluminum foil. You can also transfer it to an airtight container. This keeps the cobbler fresh. Store it in the fridge for up to three days. To reheat your peach cobbler, preheat the oven to 350°F (175°C). Place the cobbler in an oven-safe dish. Cover it loosely with foil to prevent burning. Heat it for about 15-20 minutes. Check to see if it's warm throughout. You can also use the microwave. Heat in 30-second bursts until warm. If you want to save some for later, freezing works well. First, let the cobbler cool completely. Then, cut it into portions. Wrap each piece in plastic wrap. Place the wrapped pieces in a freezer-safe bag. Remove as much air as possible before sealing. You can freeze it for up to three months. To eat, thaw it overnight in the fridge. Then, reheat as mentioned above. Enjoy your peach paradise anytime! Yes, you can use canned peaches. They are a great option when fresh peaches are not in season. Make sure to drain the syrup from the can. This helps avoid a watery cobbler. Canned peaches often have added sugar, so check the sweetness. You may want to cut down the sugar in the recipe. The flavor will still be sweet and tasty! Adjusting the sugar is easy. If you want a sweeter cobbler, add more sugar. Start with an extra 1/4 cup and taste the peach mixture. If it is not sweet enough, add a bit more. For a less sweet cobbler, reduce the sugar. You can start by cutting out 1/4 cup of sugar. Taste it before baking. This way, you can find the perfect balance for your taste buds. Cobbler and crisp are both delicious desserts, but they have key differences. A cobbler has a soft topping made from dough. The dough is usually poured over the fruit. As it bakes, it puffs up and creates a nice texture. A crisp, on the other hand, has a crumbly topping. This topping often includes oats and brown sugar. The crisp gives a crunchy bite to the dish. Both are tasty, but they offer different textures and flavors. This blog post covers all you need to make the best peach cobbler. We explored key ingredients, like fresh peaches and sweeteners. I shared step-by-step instructions that make baking simple. You also learned tips for choosing peaches and achieving perfect texture. With different variations and storage tips, your cobbler will shine. In my view, making peach cobbler is fun and rewarding. Enjoy trying out new ideas and sharing with friends! Happy baking!](https://foodishtalk.com/wp-content/uploads/2025/06/c7365dae-b995-4239-b8d6-d31b7f53fbf1.webp)
Are you ready to impress your family and friends with a sweet treat? This Best Peach Cobbler Delight is both
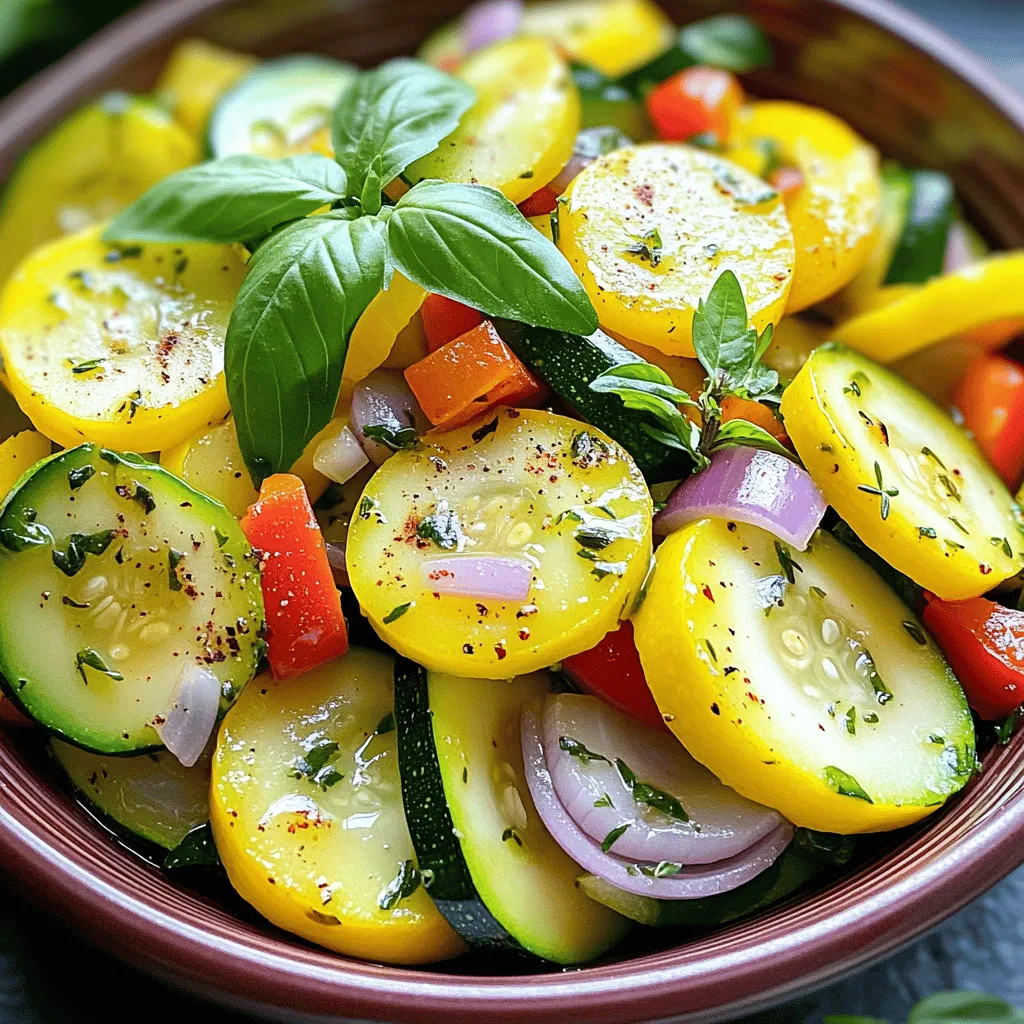
If you want a quick, tasty dish, sautéed squash and zucchini is perfect. This fresh and colorful meal packs a

Are you ready to add a burst of flavor to your meals? These Carrot Zucchini Fritters are healthy, simple, and
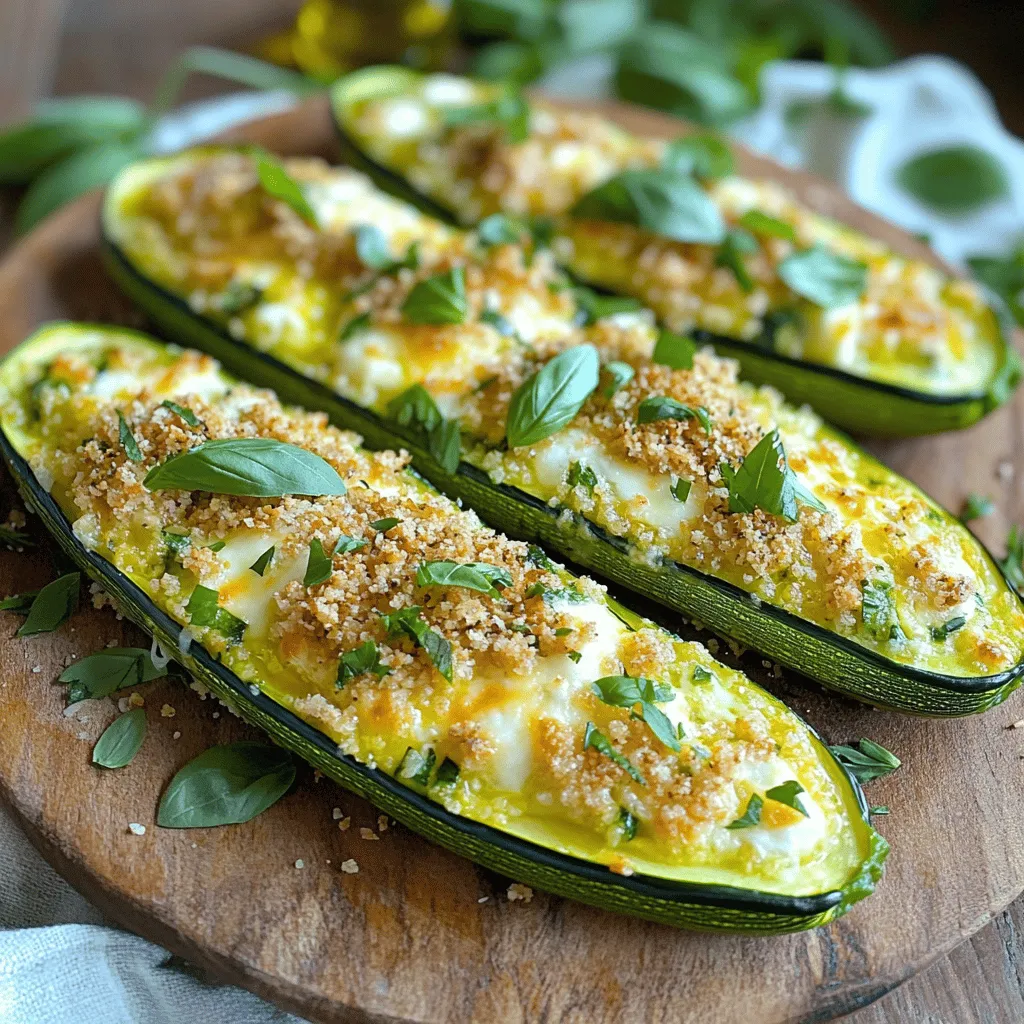
Are you ready to turn simple zucchini into a tasty treat? This baked zucchini dish is easy to make and
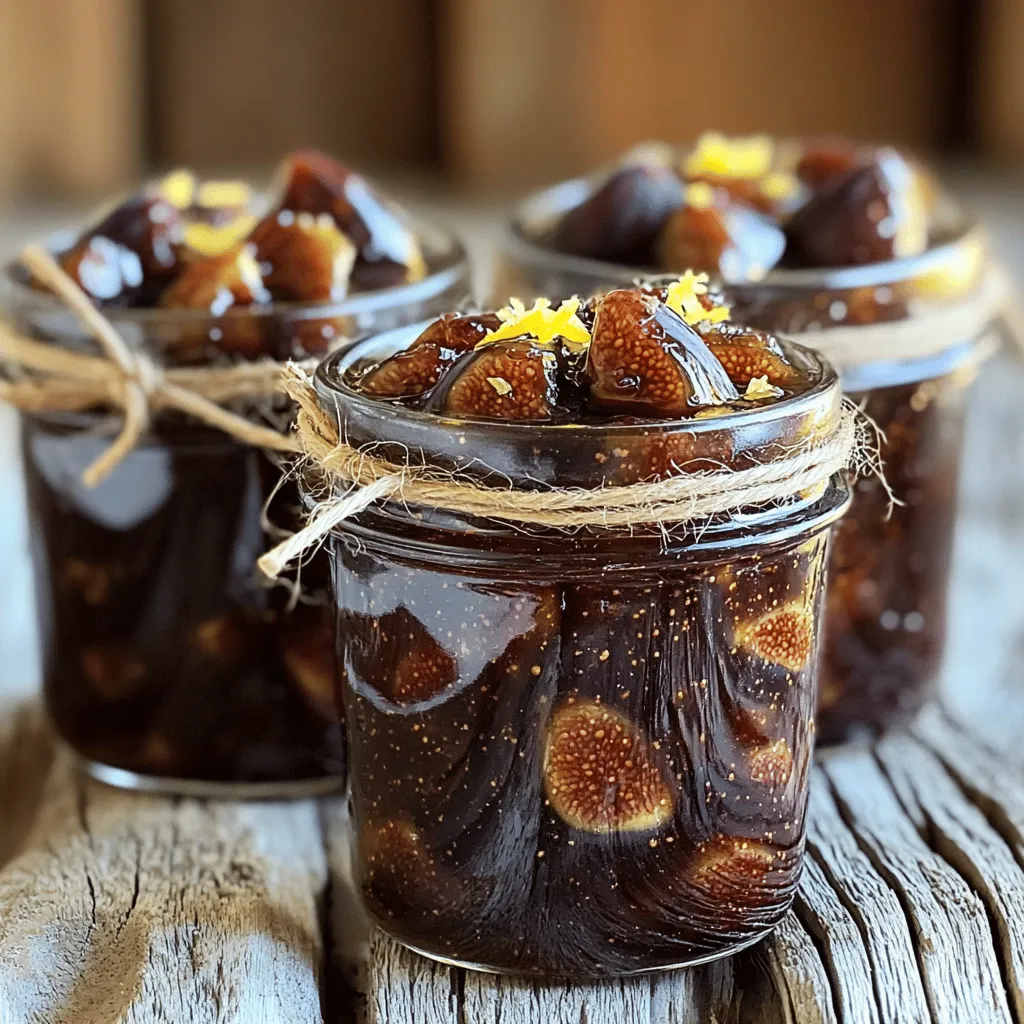
Are you ready to turn bountiful figs into a delightful jam? In this easy fig jam recipe, I’ll guide you
