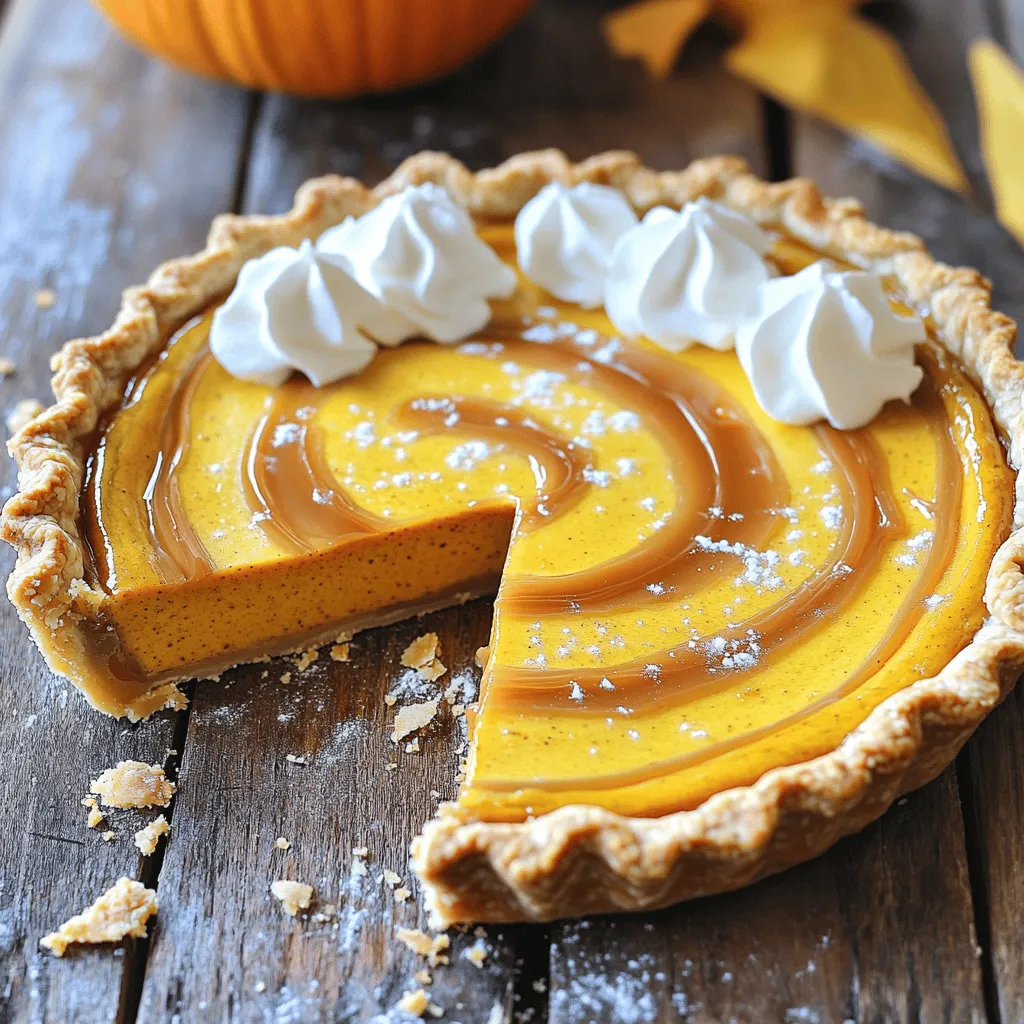
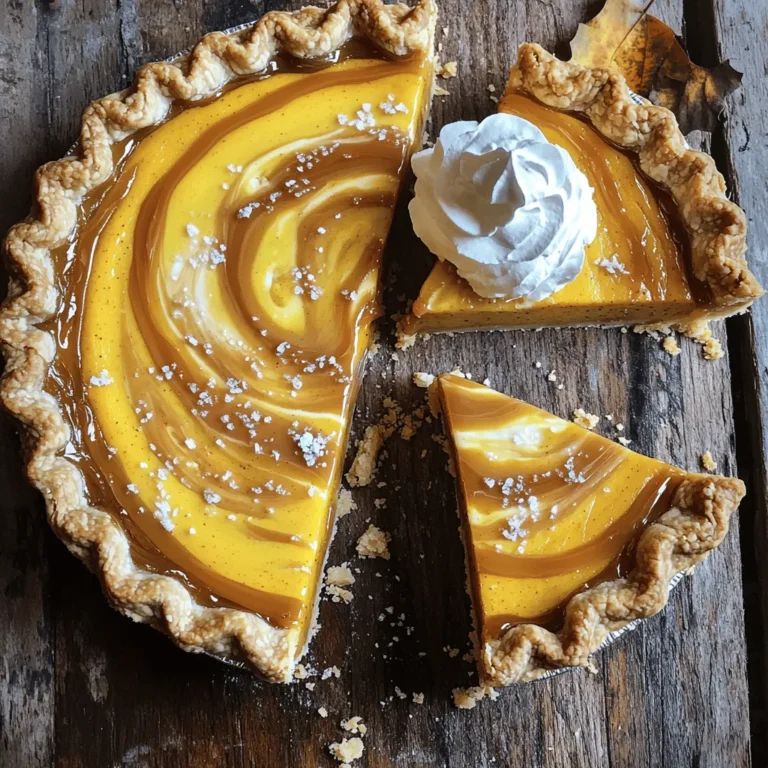
Looking for the perfect holiday dessert? Let me introduce you to my Salted Caramel Pumpkin Pie. Imagine creamy pumpkin filling, rich caramel, and a sprinkle of sea salt all in a flaky crust. This pie stands out at any gathering and will delight your guests. Ready to impress your loved ones? Let’s dive into the ingredients and steps to create this irresistible treat!
Ingredients
Complete list of ingredients for Salted Caramel Pumpkin Pie
To make this delicious pie, you will need the following ingredients:
– 1 pre-made pie crust (9-inch)
– 1 can (15 oz) pumpkin puree
– 3/4 cup brown sugar
– 1/4 cup granulated sugar
– 1 teaspoon cinnamon
– 1/2 teaspoon nutmeg
– 1/2 teaspoon ground ginger
– 1/4 teaspoon cloves
– 3 large eggs
– 1 cup heavy cream
– 1 teaspoon vanilla extract
– 1/2 cup salted caramel sauce (homemade or store-bought)
– Sea salt flakes for garnish
Substitutions for common ingredients
You can swap some ingredients if needed. Here are a few ideas:
– Use a homemade pie crust instead of pre-made, if you prefer.
– Swap pumpkin puree with butternut squash puree for a different taste.
– Brown sugar can be replaced with coconut sugar for a healthier option.
– If you need a dairy-free version, try coconut cream instead of heavy cream.
– You can skip the salted caramel sauce and use regular caramel if that’s what you have.
Dos and don’ts of ingredient selection
Choosing quality ingredients makes a big difference in taste. Here are some tips:
– Do use fresh spices for better flavor. Older spices lose their kick.
– Don’t use low-quality pumpkin puree. It can taste bland.
– Do check the date on the heavy cream. Fresh cream gives the best texture.
– Don’t skip the sea salt flakes. They balance the sweet and salty flavors perfectly.Enjoy the process of making this tasty dessert!
Step-by-Step Instructions
Preparing the pie crust
Start by preheating your oven to 425°F (220°C). Grab your pre-made pie crust and follow the package instructions. Place it into a 9-inch pie dish. Make sure to press it firmly into the bottom and sides. This step helps the crust hold the filling well. Trim any extra pastry around the edges. This will give your pie a neat look.
Mixing the filling
In a large mixing bowl, combine 1 can of pumpkin puree, 3/4 cup of brown sugar, and 1/4 cup of granulated sugar. Add in 1 teaspoon of cinnamon, 1/2 teaspoon of nutmeg, 1/2 teaspoon of ground ginger, and 1/4 teaspoon of cloves. Whisk these together until they blend smoothly. Then, crack in 3 large eggs, pour in 1 cup of heavy cream, and add 1 teaspoon of vanilla extract. Whisk it all together until smooth. Now, pour half of the salted caramel sauce into the mix and gently fold it in. This creates a marbled effect that looks great.
Baking techniques for optimal texture
Pour the pumpkin filling into your prepared pie crust. Bake it in the preheated oven for 15 minutes. After that, reduce the temperature to 350°F (175°C) and bake for another 35-40 minutes. To check if it’s done, insert a knife in the center. If it comes out clean, your pie is ready. Once baked, take it out and let it cool at room temperature for at least 2 hours. This helps the filling set. Right before serving, drizzle the rest of the salted caramel sauce on top and sprinkle with sea salt flakes. This adds a sweet and salty touch that makes it irresistible.
Tips & Tricks
Achieving the perfect pumpkin filling consistency
To get the right texture, use canned pumpkin puree. It has just the right moisture. Whisk the filling until smooth. Make sure there are no lumps. Mixing in the eggs and cream is key. This helps create a creamy filling. Pour in some salted caramel for extra richness. Remember to fold it in gently. This makes beautiful swirls without overmixing.
Secrets to a flaky pie crust
A flaky crust starts with cold ingredients. Use cold butter and ice water for best results. When making the crust, handle the dough as little as possible. This keeps it tender. Chill the crust for 30 minutes before baking. This helps it hold its shape. If you like, use a fork to create a pattern on the edges. It adds a nice touch to your pie.
Best practices for seasoning and flavor balancing
Spices bring life to your pie. Use a mix of cinnamon, nutmeg, ginger, and cloves. Each spice adds its own warmth. Balance the sweetness with a pinch of salt. This enhances the flavors. Taste the filling before baking. Adjust the spices if needed. A little more cinnamon can make a big difference. Always remember to drizzle that salted caramel sauce on top. It ties everything together beautifully.

Variations
Alternative crust options (gluten-free, homemade)
You can change the crust if you need it to be gluten-free. Use almond flour or gluten-free flour. Mix 2 cups of gluten-free flour with 1/2 cup of cold butter. Add a pinch of salt and some cold water. This mix will make a great crust. You can also make a homemade crust from scratch. It gives you control over flavors and textures.
Flavor enhancements (spices, extracts)
Want to jazz up your pie? Try adding more spices! A bit of allspice or cardamom can add warmth. You can also use maple extract for a sweet twist. Just a few drops will do. If you love chocolate, add cocoa powder to the filling. It pairs nicely with pumpkin.
Serving suggestions for different occasions
For holiday dinners, serve slices with whipped cream and extra caramel. A sprinkle of cinnamon on top adds flair. For casual gatherings, cut the pie into smaller pieces. Offer a scoop of vanilla ice cream on the side. It makes the dessert feel special. Try to pair it with hot coffee or spiced tea.
Storage Info
How to store leftover pie
Storing leftover pie is easy. First, let the pie cool completely at room temperature. Then, cover it tightly with plastic wrap or foil. You can also place it in an airtight container. This keeps the pie fresh and prevents it from drying out. Store it in the fridge for up to four days.
Best practices for freezing
Freezing your salted caramel pumpkin pie is a great option! To freeze, slice the pie first. Wrap each slice in plastic wrap. Then, place the wrapped slices in a freezer-safe bag or container. This helps keep them fresh. You can freeze the pie for up to three months. Just remember to label the bag with the date.
Reheating instructions for optimal taste
To enjoy your pie again, you can reheat it easily. Preheat your oven to 350°F (175°C). Place the pie slice on a baking sheet. Cover it loosely with foil to prevent burning. Heat for about 10-15 minutes, or until warm. If you prefer, you can also microwave it. Heat on medium power for 30 seconds at a time. Check it often to avoid overheating. The goal is to warm it, not cook it further. Enjoy your delicious pie just like fresh!
FAQs
What can I substitute for heavy cream in this recipe?
You can use whole milk or half-and-half instead of heavy cream. For a dairy-free option, try coconut cream. These substitutes will change the texture slightly, but they work well. If you want a thicker consistency, blend in some silken tofu or use a non-dairy creamer.
How long does salted caramel pumpkin pie last?
Salted caramel pumpkin pie lasts about four days in the fridge. Make sure to cover it well to keep it fresh. I recommend storing it in an airtight container. If you see a change in texture or smell, it’s best to toss it out.
Can I make this pie ahead of time?
Yes, you can make this pie a day or two ahead. Just bake it, let it cool, and store it in the fridge. This allows the flavors to meld. Before serving, drizzle on more salted caramel for that fresh touch. You can also bake the crust ahead and fill it later.
You have all the tools to make a great Salted Caramel Pumpkin Pie. We covered the ingredients, from a full list to helpful substitutes. Understanding how to prepare, mix, and bake the pie sets you up for success. You learned tips for that perfect filling and flaky crust. Variations let you customize it for any event. Plus, you’ll know how to store and reheat leftovers.
Now, it’s your turn to enjoy this dessert with friends. Happy baking!


